The Enrollment Process For An Individual Or An Organization
Individuals and organizations have different processes to go through when enrolling for an account. So let’s take a closer look.

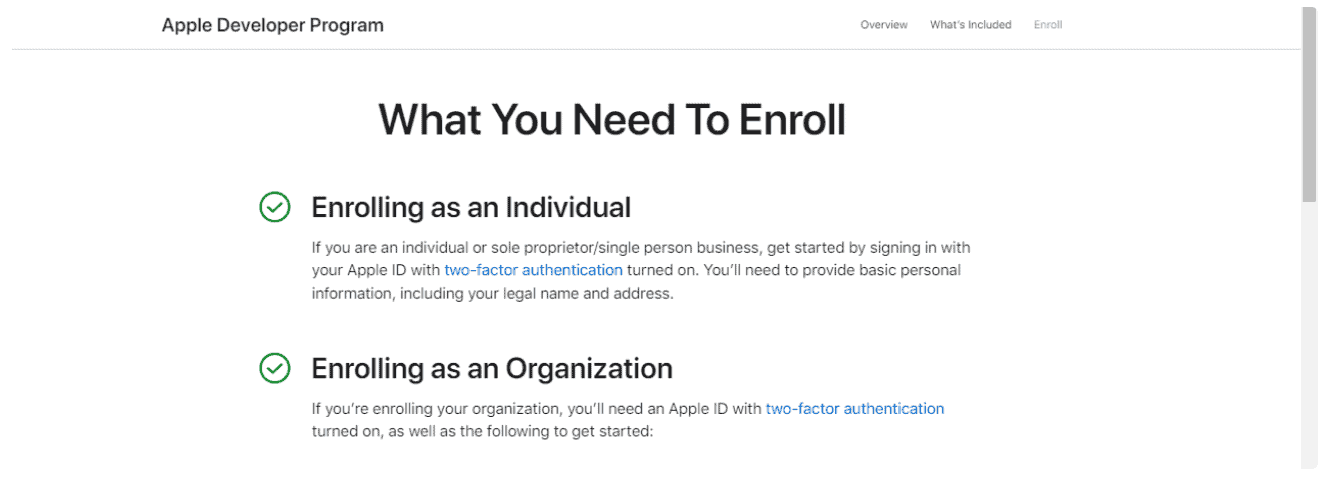
Enrolling as an individual
As an individual or sole proprietor/single-person business, it’s easy to enroll with Apple.
All you need to do is sign in with your Apple ID and provide basic personal information, like name and address.
Other information may be required depending on your location, but the process takes little time.
Once enrolled as an individual or single-person business, you’ll unlock many great new services that offer convenience and efficiency.
Enrolling as an organization
If you want your organization enrolled in the Apple Developer Program, We’ll show you what you need to do step by step. Firstly, you will need an Apple ID and the following three things to get started:
A. A D-U-N-S® Number:
The first step is ensuring that your organization has a D-U-N-S Number. This number allows us to verify your organization’s identity and legal entity status. With this, we will be able to proceed with enrolling your organization.
You can apply for a D-U-N-S Number online by filling out the relevant forms and answering the required questions.
B. Legal Entity name/status
Your organization must be legally registered for it to enter into contracts with Apple – no DBAs, fictitious businesses, trade names or branches will be accepted.
If your organization still needs to be legally registered, then you can take steps towards achieving this status before applying for enrollment in the Apple Developer Program.
C. Legal Binding Authority
In order for your organization to enroll in the Apple Developer Program, you, as the person enrolling, must have the legal authority to bind your organization into legal agreements.
As such, it is important that whoever is taking on this role has been authorized by those higher up within the business.
So when should individuals or organizations choose one option over the other?
Generally speaking, if you are a single person starting out, then opting for an individual account makes sense. It’s easier and faster than setting up an organization account.
On the other hand, if you are part of a registered business or team, then it’s best to opt for an organization account, as this will give you access to additional features and benefits that are specific to organizations, such as branding options and advanced analytics tools.
Steps To Enroll For The Apple Developer Program
Below is a step-by-step guide on how to set up your own developer account.
Step 1 -Create an Apple ID
You need to have an Apple ID before you can make an iOS developer account. Follow the steps below if you don’t already have one:
- Go to developer.apple.com and click on account.
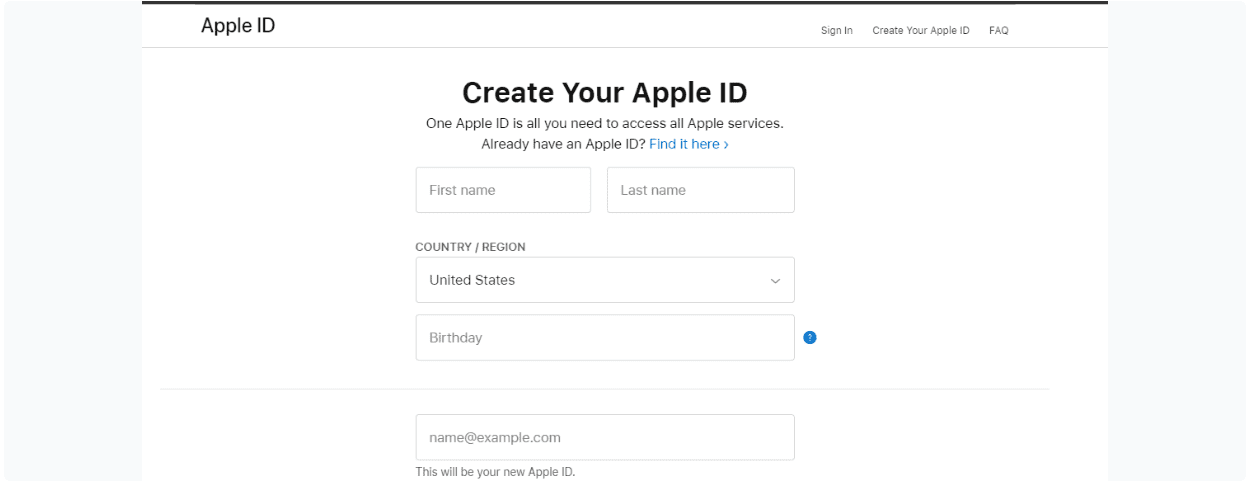
- At Don’t have an Apple id? click “Create yours now.”
- Go to Create Apple ID and fill in your legal information.
- Enter and save information like your valid first and last name, country, date of birth, email address, and password. Accept the terms and conditions.
- Answer the security questions, and you’re done making an Apple ID.

Step 2 – Sign in at the Apple Developer Program
Once you have sign in, you will see the “Apple Developer Program” banner. Follow the steps below to complete the corresponding procedure:
- Select Apple’s Developer Program
- Review the information and then click Submit
- Select an Account Type
Remember that Apple allows you to choose from the following Account Types based on your legal entity and business requirements. There are two types of accounts.
- Organization
- Individual
We already mentioned the Enrollment process for an individual or an organization.
Step 3 – Set up Two Factor Authentication
Two-factor authentication adds an extra layer of security to your Apple ID. When you turn on two-factor authentication, you’ll be asked to enter a four-digit code each time you sign in with your Apple ID on a new device or browser.
To set up two-factor authentication,
- Go to the Apple ID account page, then click “Security” and “Edit.”
- On the next page, select “Turn On Two-Factor Authentication.”
- Enter your Apple ID password and click “Continue.”
- Then follow the instructions that appear on the screen.
Once two-factor is enabled, it’s important not to share any verification codes with anyone else.
Step 4 -Enter profile details
After that, you must put in some basic information about yourself and your business. This is how it goes:
- Confirm your email.
- Enter your legal name
- Country Location
- Account/Entity Type (as described above)
- Click Start Your Enrollment to finish.
The next step is to put in your contact info and agree to the terms.

Step 5 – Verify your account information
Now, you’ll be directed to a page where you can check your account information is correct. When everything looks good, hit the ‘Continue’ button and get ready for the next step!
Step 6 – Sign in with Apple Id
Once you’re done with account verification, you’ll be taken to the page where you can sign up for an account. After that, sign in to your account.
Step 7 – Enter billing information
After you enter the information, you will be taken to a page where you can pay. In this case, you will need to enter:
- Billing Contact Details
- Billing Address Details
- Payment Method Details
- Look at the order total and click “Continue” to confirm and pay.
Step 8 – Go ahead and list your dream app
Boom! you’ve completed the enrollment process!
Now it’s time to get your app into users’ hands. All that is left for you to do is upload it onto the App Store with your Developer Account on App Store Connect – navigate to ‘My Apps’ and fill out an application listing there.
Now you’re almost ready – let’s make this happen!

